
Wondering if you can freeze stuffed peppers? Whether you are meal prepping for busy weeknights or simply saving leftovers, the answer is yes! You can safely freeze them cooked or uncooked for up to three months.
Plus, I'll show you the easiest ways to freeze them, how long they last, and a few simple tips for keeping the filling and peppers tasting fresh.
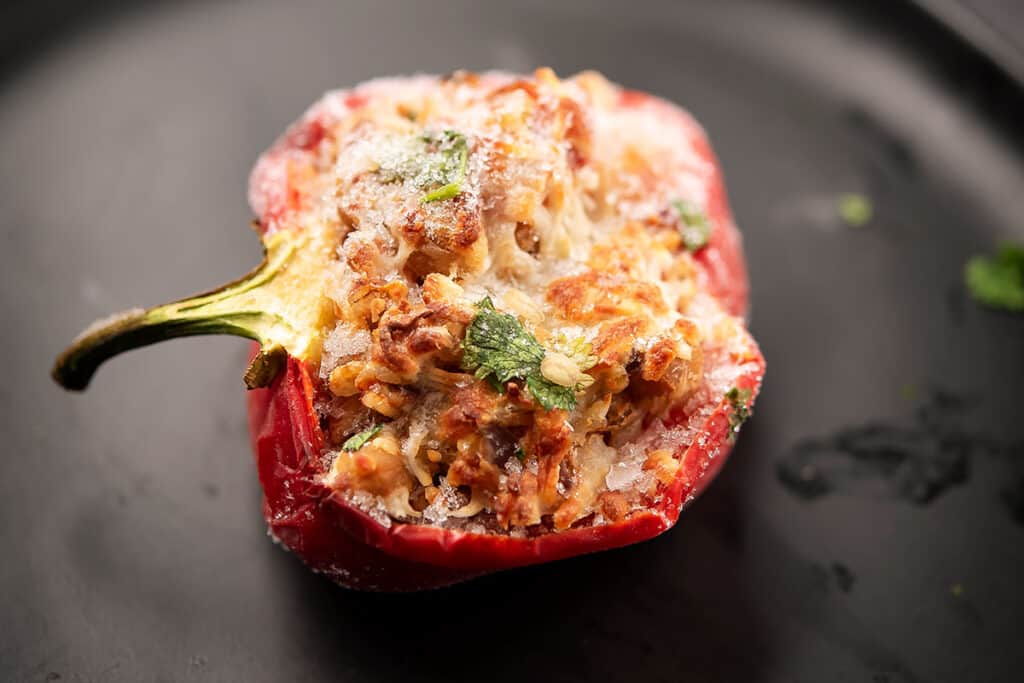
My love for stuffed peppers never ends. I've tested many stuffed pepper recipes with different grains, meats, and sauces. Since my family loves them, I usually meal-prep a batch for an easy dinner on lazy weeknights.
Along the way, I learned how peppers behave with different fillings and how to freeze them properly so they don't turn mushy or rubbery.
Today, I'm sharing those exact methods with you. Let's figure out which approach works best for you.
Should You Freeze Them Cooked or Uncooked?
Both cooked and uncooked stuffed peppers freeze well, but the better choice depends on how you plan to use them.
Cooked stuffed peppers are best when you want a quick dinner later. Cooking them first helps maintain a firmer texture, and when you're ready to eat, you simply thaw and reheat.
Uncooked stuffed peppers are a good choice when you're meal-prepping ahead. You can freeze them before baking, then cook them when needed. They take longer to prepare and have a slightly softer texture after baking.
How to Freeze Stuffed Peppers
There are several easy ways to freeze stuffed peppers. Choose the method based on whether you want individual portions, a family-size meal, or just the filling ready for later use.
Method 1: Flash-Freeze and Bag Method (Space-Saving)
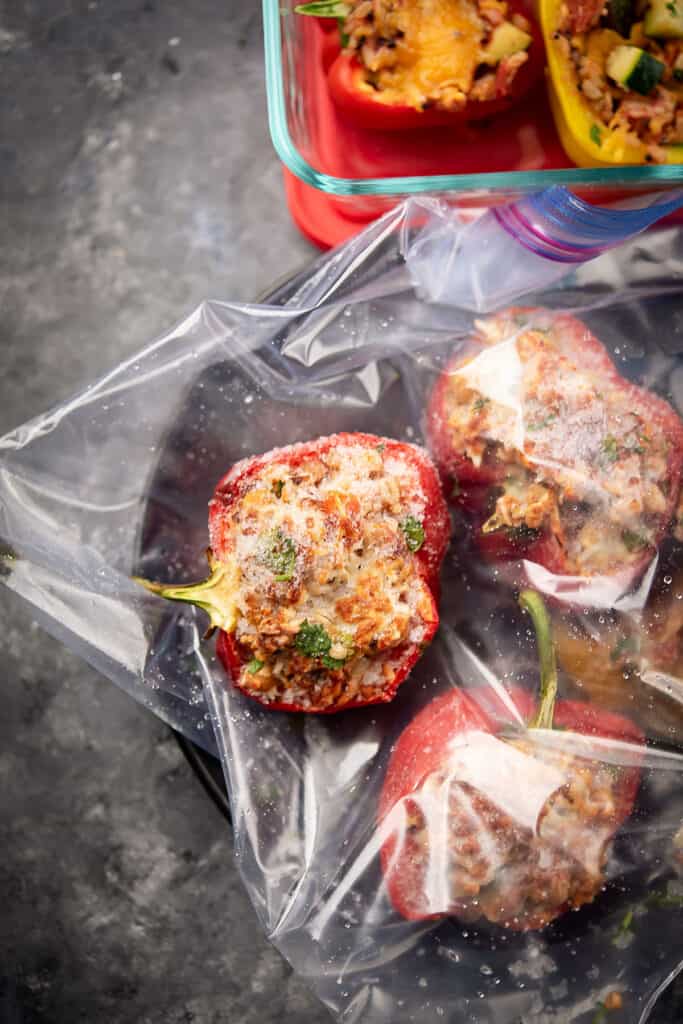
This method works for both cooked and uncooked stuffed peppers. Arrange the peppers on a baking sheet so they do not touch, then freeze for about 2 hours, or until solid. Transfer them to a freezer bag, remove as much air as possible, and seal tightly.
This is the method I use most often because it's convenient and makes portion control so much easier. I can take out just one or two peppers whenever I need them, instead of thawing the whole batch.
Method 2: Individual Wrap Method (Best for Single Servings)
This method works best for fully cooked stuffed peppers. Wrap each cooled pepper tightly in plastic wrap, then wrap it again in aluminum foil. Label each one with the date and freeze.
The individual wrapping helps protect the peppers from freezer burn and makes it easy to grab a single serving when you need a quick meal.
Method 3: Casserole Dish Method (Best for Family Dinners)
This is a good option when you want to meal prep a family-size dinner. First, choose a freezer-safe, oven-safe casserole dish. Arrange the cooked or uncooked peppers upright in the dish, then cover tightly with aluminum foil.
When I'm ready for dinner, I just defrost them in the microwave and reheat or cook the stuffed peppers in the oven.
Method 4: Freeze the Filling Only (Best for Fresh Peppers Later)
If you want the freshest-tasting peppers, freeze the filling and use fresh peppers later. Let the cooked filling cool completely, then transfer it to an airtight container or freezer bag.
Freeze for up to 3 months. When you're ready to use it, thaw the filling in the refrigerator, stuff fresh peppers, and bake as usual. This method gives you the best chance of keeping the pepper shells firm and fresh.
How to Thaw and Reheat Frozen Stuffed Peppers
I usually thaw and reheat them in three different ways, depending on how much time I have before dinner:
- Baking frozen stuffed peppers: For pre-cooked stuffed peppers, I bake them straight from frozen until heated through. For uncooked stuffed peppers, I follow the original recipe's baking instructions, adding extra time as needed since these are frozen.
- Thawing overnight in the fridge: This is the safest choice when you have time to plan ahead. It lets them thaw evenly and significantly reduces your final baking time.
- Defrosting in the microwave: This is the fastest option. Just make sure to use your microwave's defrost setting so it thaws evenly. Microwaving on regular mode will leave the center of the frozen stuffed pepper cold while the outside can turn rubbery.
For step-by-step thawing and reheating instructions, check out my full guide on How to Reheat Stuffed Peppers.
Secrets to Preventing Watery, Soggy Peppers
1. Prepare the Filling: Keep the filling as dry as possible before stuffing the peppers. Thicken tomato sauce or salsa first, and brown and drain the meat well. Let the filling cool completely before stuffing or freezing (the same principle applies to my unstuffed peppers).
2. Choose the Peppers: Choose firm, thick-walled bell peppers and blanch them for just 2 minutes for best results.
Frequently Asked Questions
Stuffed peppers stay good in the freezer for up to 3 months. After that, they're still safe to eat, but the texture starts to break down, and the peppers get mushier. Label your bag or dish with the date so you don't lose track.
Seal the stuffed peppers carefully by wrapping them in double layers.
Yes, a little. Thicker-walled peppers, like the standard green or red bell pepper, hold up better in the freezer than thin-walled varieties. Thinner peppers tend to go soft and lose their shape once thawed, so stick with regular bell peppers for the best texture.
📖 Recipe

Freezing Stuffed Peppers
Ingredients
- 6 bell peppers tops cut off and seeded
- 1 lb ground beef (or ground turkey)
- 1 cup cooked rice
- 1 small onion diced
- 2 cloves garlic minced
- 15 oz diced tomatoes caned & drained
- 1 teaspoon Italian seasoning
- ½ teaspoon salt
- ¼ teaspoon black pepper
- 1 cup shredded cheese add fresh, not before freezing
Instructions
Blanch the peppers
- Boil the pepper shells for 2-3 minutes, then move them to an ice bath. This keeps them from turning watery once frozen and thawed.
Cook the filling
- Brown the ground beef with the onion and garlic. Stir in the rice, diced tomatoes, Italian seasoning, salt, and pepper.
- Cook until the filling mixture thickens. And let the filling cool comple.
Stuff & Freeze
- Fill each pepper with the cooled mixture. Flash-freeze on a baking sheet for 2 hours, then transfer to a freezer bag or wrap them individually. Skip the cheese for now; it freezes better when added fresh.
Bake
- From frozen, bake at 375°F, covered, for 45 minutes, then uncover, top with cheese, and bake for 15-20 more minutes, until the cheese melts and the peppers are hot through the center.
Notes
- Thaw overnight in the fridge for a shorter bake time.
- Store in the freezer for up to 3 months.
- Use thicker bell peppers; thin-walled peppers go soft after freezing.




Oh, nice! I'm a big fan of meal prepping so this is perfect for me. I can't wait to try this method.
thanks for this easy meal prep idea to freeze stuffed pepper. now we have another option for a quick weekend dinner
Very informative. I think cooking and then freezing would be best for my family. I like that I don't have to thaw them before heating.
Amazing, Andrea! So glad you have enjoy this recipe!
Thank you for such a detailed tutorial on how to freeze stuffed peppers. I love stuffed peppers and having some in my freezer is a win-win for me. It's a great way to prepare dinner in advance for busy weeknights.
Hi Mairead! So glad you enjoyed the recipe! Thank you for this kind review!